Each badge displays the employee's photo, name, badge #, and QR code, which uniquely identifies the employee.
Badge Images
To upload a profile picture or image for an employee, first navigate to their profile (the user must have the employee administrator or account/company administrator role), then click or tap "Edit". From here, click the picture placeholder to begin uploading a photo.
Troubleshooting
If an employee photo has been uploaded but its not displaying on the employee's badge, or the employee's badge is not scanning properly -- i.e. showing "Unknown" when scanning in production, please perform the following steps:
- Go back in to edit the employee, but don't actually modify anything
- Click the "Save" button. This will re-sync the employee's photo with our server
- Download your employee's badge
- If the above doesn't work, please upload a new photo and/or reach out via Intercom for help
Badge colors
FieldClock automatically assigns your company color for all badges, which by default is the blue color below. There are two ways to change this, which you can do by navigating to the "Edit Company Details" section by clicking "Account", then "Edit", which is located to the right of Company Details. Once there, you'll see the two color options below:
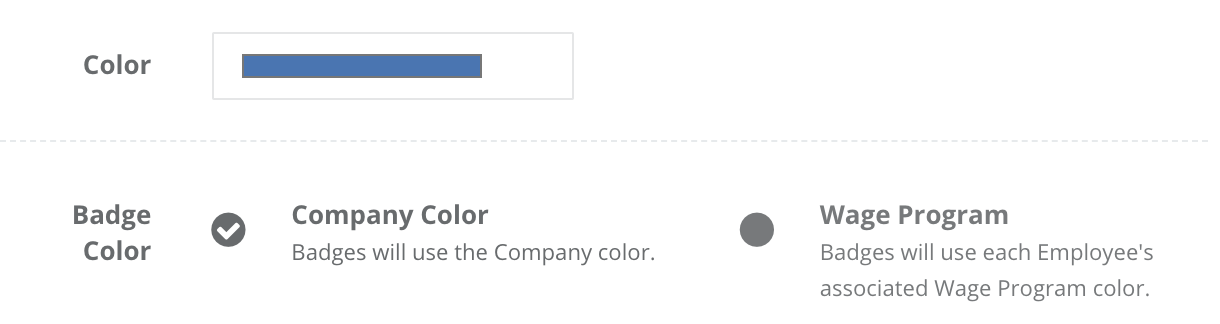
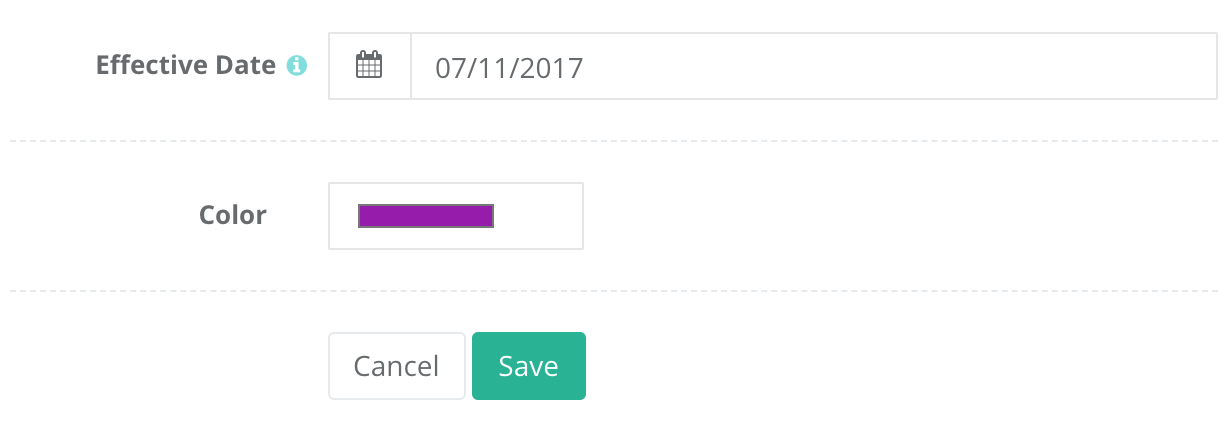
Your company color can be set on this page; simply click the color box and choose a new one.
If you'd like to use your wage program's badge color, simply click that box, then "Save". Finally, if you'd like to change the each of your wage program's colors, click "Admin" from the left-hand side navigation bar, then click the "Wage Programs" tab, and finally click the wage program whose color you wish to edit. Once you click "Edit Program", you'll see the color option at the bottom of the page: